

Collaborate Ultra is a web conferencing tool that allows instructors to share audio and video, applications, and files. Instructors can either hold a synchronous course—with all students in attendance at the usual course date and time—or an asynchronous course, with students accessing the material at any time.
Creating a session:
- Log on to Blackboard and go to your course
- Click on “Collaborate Ultra” on the menu bar
- Click on “Create Session”
- Enter a name and indicate the start and end times
- Review the session settings by clicking on the "gear" icon
- Recommended: Allow recording downloads
- Press Create
- Use a wired connection, if possible
- Test audio and video in advance—learn more on the Blackboard website
- Close all windows and streaming services—such as YouTube, Netflix, and Spotify—prior to entering Collaborate Ultra
- Download the most recent version of the browser; Google Chrome or Firefox is suggested
- Use a headset and find a quiet space to cut down on background noise
Troubleshooting
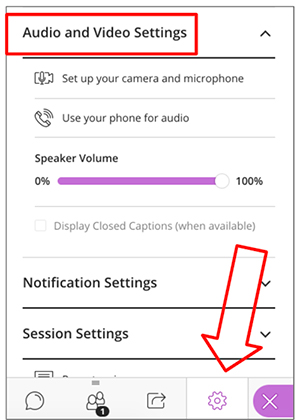
- Check your audio and video settings
- Call in on a phone if necessary—click on the menu in the upper-left corner and select “Use Your Phone for Audio”
- Close and restart your browser
- Try a different browser—either Google Chrome, Firefox, or Safari
- Reboot your computer
Where’s My Recording?
Recordings post automatically, but they usually require some time to process before they are available for viewing. Since so many people are using the system, processing time may be very long; please wait 24 hours for your video to appear.
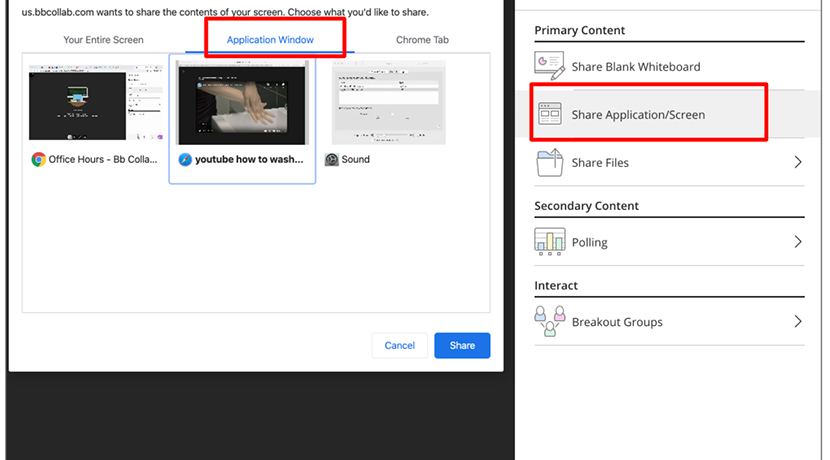
Sharing Application/Screen
If sharing your screen causes “infinity windows” to appear, try using a separate browser to display the content. Select “Application Window” and look for that second browser.
More Help?
You can contact the Illinois Tech Support Desk at supportdesk@iit.edu.
Using the Google Chrome browser, start your Collaborate Ultra session and then:
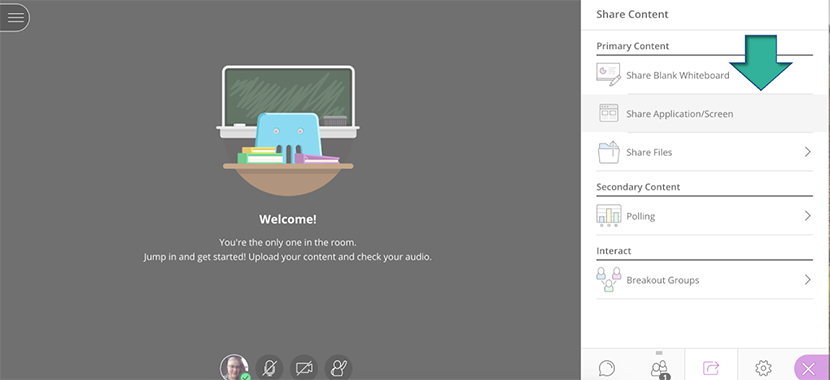
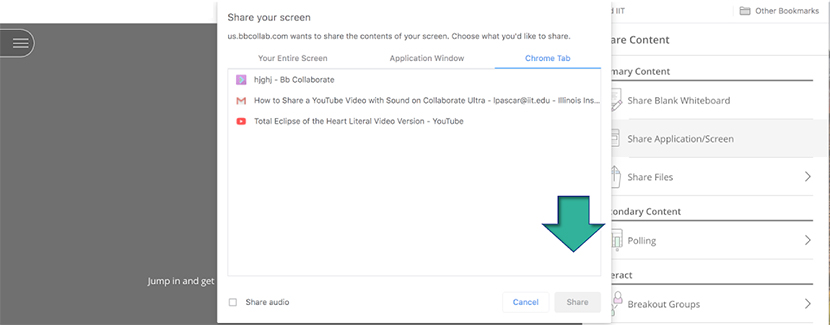
- Click the “Share Content” icon on the right bottom corner of your Collaborate Ultra tab

- Choose the option “Share Application/Screen” on the menu that opens
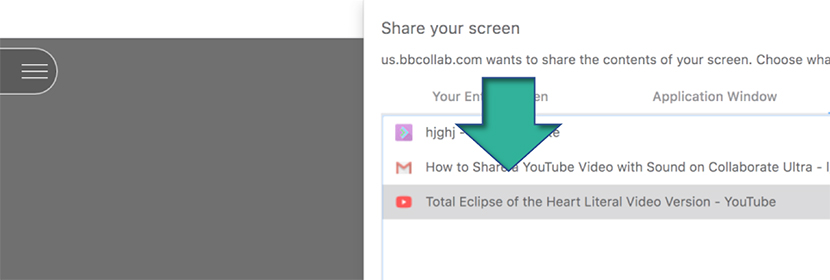
- The pop-up screen will give you several options on how to share your screen; choose to share “Chrome Tab”
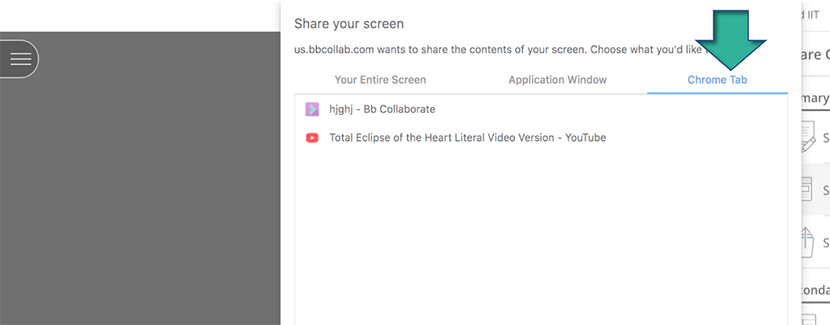
- Next, choose the YouTube link you would like to share from the menu on the pop-up window
- Check the box “Share Audio” in the lower-left corner of the pop-up window
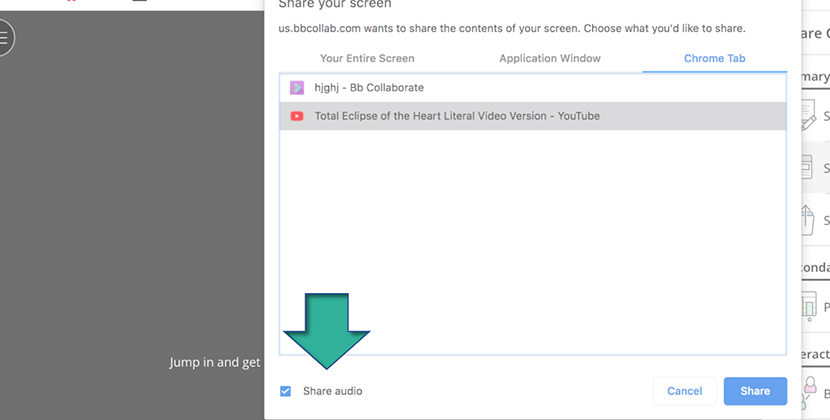
- Press “Share” on the bottom right of the pop-up window
- Your YouTube video will now appear on your session; play and pause the video as necessary
When you would like to stop sharing the video, you have two options:
- On the YouTube tab, press the stop button on the top left
- On your Collaborate Ultra tab, press the stop icon on the screen’s upper-right corner
- Go to your Collaborate Ultra Session.
- Click on the Collaborate Panel in the lower right corner.
- Go to the Sharing tab at the bottom.
- From Interact click on Breakout Groups.
- From Assign Groups choose either Custom or Random assignment.
- Select the number of groups.
- Drag and drop members from the available list into the group.
- Click + in the middle to add more groups.
- Click on each group’s title to rename the group.
- Click Start to finalize.
Collaborate Ultra is available to members of the course site where the tool is launched. However, you can invite colleagues or industry professionals to your sessions to meet with students.
To Share the Collaborate Ultra Link
- Go to the course site
- Click on Collaborate Ultra
- Click on the session
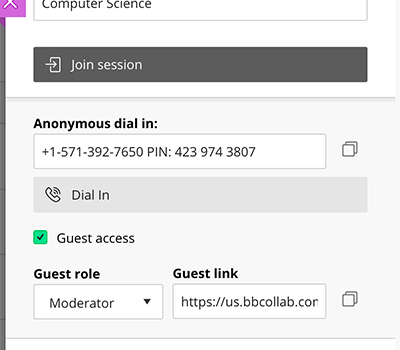
- A menu bar will slide out from the right; check the box for "Guest Access", select the guest role, and press "Save".
- Copy the "Guest link" and email it to your attendees outside the course
Join a Session
Navigate directly to Collaborate Ultra from your course menu or follow a direct link sent from your instructor. Choose the session indicated by your instructor. Your name will automatically appear if you join a session from your registered course. If you are sent an external link, enter your name before joining the session.
Find Recordings
If your instructor recorded the session, you can view recordings in courses you are enrolled in. Recordings post automatically, but usually require some time processing before they are available for viewing. If your instructor permits, you may be able to download recordings.
To find a recording:
- Go to the course and click on Collaborate Ultra
- Once in Collaborate Ultra, open the menu and select recordings
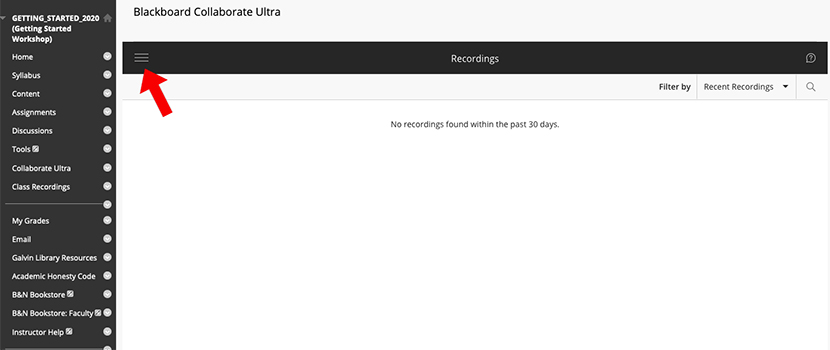
NOTE: It may be necessary to modify the date range. Change the "Filter by" option to "Recordings in a Range" and enter the desired dates.
To share a recording with a person who is not enrolled in the course:
- Log into Blackboard
- Go to the course
- Click on Collaborate Ultra
- Click the Menu bar (three horizontal lines) in the upper-left corner
- Select "Recordings"
- Click the "Recording Options" to the right of the desired recording (three dots in a circle)
- Select "Copy Link"
- Share the link as needed
If you wish to save a Collaborate Ultra video for the long-term, it's necessary to download the video, and then upload it to Panopto.
- Log into Blackboard
- Go to the course
- Click on Collaborate Ultra
- Click the Menu bar (three horizontal lines) in the upper-left corner
- Select "Recordings"
- Click the "Recording Options" to the right of the desired recording (three dots in a circle)
- Select "Download" - note where the recording is saved on your computer
- Go to Class Recording|Panopto for the course (you can store it in any Folder you wish in Panopto)
- Click "Create", and then select "Upload Media"
- Select the file that you had previously downloaded and press "Upload". This may take anywhere from a few minutes to an hour, depending on how long the video is. After the video is uploaded, additional processing time is needed in Panopto, again, this time will vary depending on the length of the video.
Video Instructions: